gravbiz@mail.ru

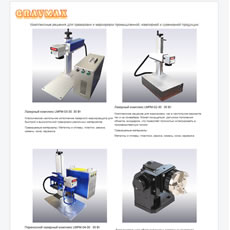
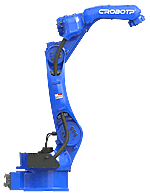
 Робот для сварки 2550
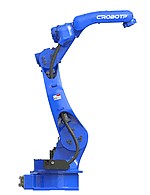

Глава 7 Special (Специальное)
7.1 Nesting (Компоновка) Отсутствует в версиях EzCad 2.1.3-2.1.4
After drawing figure in workspace, the menu item of Nesting will be enabled when you click the menu of Special. There are two ways to use Nesting function in EzCad2 software. One is Nesting multi part and the other is Nesting one part, which place different figures or single figure on one workpiece automatically.
7.1.1 Nesting multi part
This function is used to place different figure in specified border as many as possible to save material.
Step 1. Draw the figures need to nest and the border that contain the figures, and then click the menuitem Special—Nesting—Nesting multi part. The interface will be showed as Figure 7-1
Figure 7-1 Nesting multi part
Step 2. Click the button Nesting parameter to sets the required parameters. See Figure 7-2
Figure 7-2 Multi part optimization nest dialog box
Bridge distance: half of minimum edge distance between two figures;
Stock distance: half of minimum distance between figures and border;
Rotate: Checked to allow the software to try to rotate the figures to achieve the best nest effect.
Rotate Degree: The fixed angles each time the software try to rotate the figure.
After setting the parameters, we can click Ok button.
Step 3. Click Pick edge button and select the nest border. After selecting borderline, the borderline will turn green.
Step 4. Click auto nesting button to start the operation. The result shows in Figure 7-3. (Figures and Parameters are set in Figure 7-2.)
.
Figure 7-3 the nested result
7.1.2 Nesting one part
It indicates that a single figure achieve average distribution with fixed size in terms of the set value in Nesting one part.
Specific operation: After drawing figures in workspace, you can click menuitem Special—Nesting—Nesting one part .A dialog box shown in the Figure 7-4 will pop up.
Figure 7-4 single part nest
Bridge distance: half of minimum edge distance between two figures.
Rotation degree: It indicates that content rotate in fixed degree to achieve best effect;
Sheet size:
Width: the width of material;
Height: the length of material.
Click Ok button after setting the parameters. Figure 7-5 shows an example of this function.
Figure 7-5 the original figure
Having setting parameters, you can click Ok. Then software will nest automatically. It needs more time to calculate as rotation degree descrease. The result shows as Figure 7-6:
Figure 7-6 The nested Result
Note: The nested graph may overstep work space with the specific parameters, here you need to place the whole graph on the center of work space.